Several years ago, when I was first learning test automation, I needed to create a test for my company’s email service. I had configured the service to deliver an email every day, and I wanted an automated test that would check my test Gmail account and determine if the email had been delivered. At the time, the only automated testing I knew about was Selenium Webdriver with Java. So I wrote an automated test that would open a browser, navigate to the Gmail client, log in, and search the page for the email.
This test didn’t work out very well. First of all, there could be a delay of up to ten minutes before the email was delivered, so it wound up being a long-running test. Secondly, any time Google made changes to the email page, I had to update my element locators. And finally, I didn’t have a good way to identify the email, so sometimes the test would think that yesterday’s email was today’s and mistakenly pass the test.
So when I recently found myself with the need to test an email delivery again, I knew there had to be a better way! This time I created an automated test using the Gmail API, and I’ll share here how I did it.
The first step is obviously to obtain a Gmail account to test with. You will not want this to be your personal Gmail account! I already had a test account that is shared with a number of other testers at my company.
The trickiest part of using the Gmail API is coming up with an access token to use for the API requests. Using this post by Martin Fowler, this blog post, this Quickstart documentation from Google, and some trial and error, I was able to obtain a refresh token that could be used to request the access token. The Gmail API Quickstart application is easy to create, and can be done in a number of different languages, such as .NET, Java, NodeJS, Python, and Ruby. You just choose which language you want to use and follow the simple steps.
Once the Quickstart application has been created, you run it. When the application runs, it will prompt you to authenticate your Gmail account and give permission for the Gmail API to access the account. After this is completed, you’ll have a token.json file that contains a refresh token and a credentials.json file that contains a client id, a client secret, and a redirect URI.
I ran the Quickstart application in .NET, but I didn’t actually want my test to be in .NET. I wanted to write my test in Powershell. For those unfamiliar with Powershell, it’s a Windows command line language that offers more advanced commands than the traditional command line. I took the refresh token, client id, client secret, and redirect URI from the Quickstart application files and created this request body:
$RefreshTokenParams = @{
client_id=$clientId;
client_secret=$secret;
refresh_token=$refreshToken;
grant_type=’refresh_token’;
}
Then I used this request to create a refreshed token:
$RefreshedToken = Invoke-WebRequest -Uri “https://accounts.google.com/o/oauth2/token” `
-Method POST -Body $RefreshTokenParams | ConvertFrom-Json
The refreshed token contained the access token I needed, so I grabbed it like this:
$AccessToken = $RefreshedToken.access_token
Now I had the token I needed to make requests from the Gmail API. Note that the refresh token I got from the Gmail Quickstart application won’t last forever; in the event that it gets revoked at some point in the future, I can simply run the Quickstart application again and I’ll have a new token to use in my script.
Next, I added a command in my script to send an email. I can do this with a simple POST request using my team’s email function; how you create an email for testing will of course vary.
Then I created the request to the Gmail API:
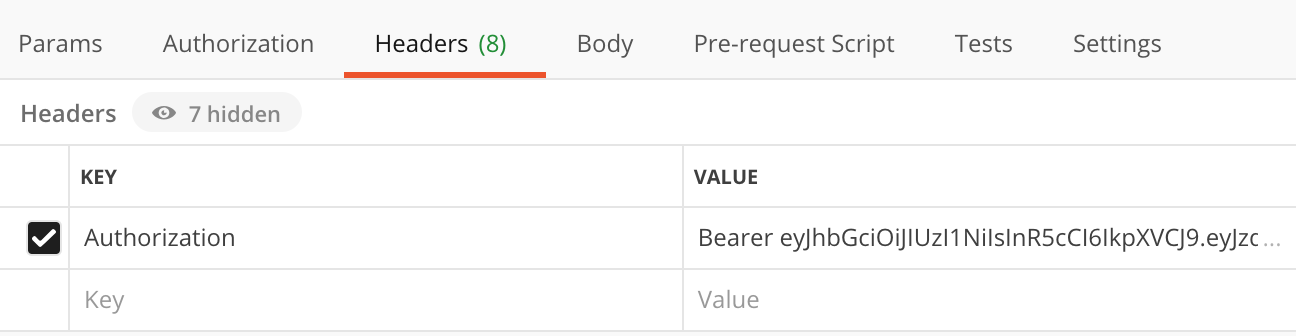
$header = @{
Authorization = “Bearer $AccessToken”
}
$emailList = Invoke-RestMethod `
-Uri ‘https://www.googleapis.com/gmail/v1/users/<emailaddresshere>/messages’ `
-Method ‘GET’ -Header $header
The <emailaddresshere> was of course replaced by my test email address.
This request got me a list of the twenty-five most recent emails to my test account. I grabbed just the first ten of them, then I looped through those ten to find the email that matched the one I sent.
You may be wondering at this point how I was able to tell my latest email apart from all the other emails. I did this by creating a random GUID and including that GUID at the very beginning of the email message. The Gmail client saves the first several characters of an email message as a “snippet”, and as I looped through the ten emails I saved, I looked for the GUID in each snippet. When I found a match, I was able to programmatically examine that email to see if it had the attachment I was expecting.
Of course, emails are not delivered instantaneously, even when we’re checking the API rather than logging into the client on the browser. So I built in some waits and retries to make sure that my test didn’t fail simply because the email hadn’t been delivered yet. So far, waiting thirty seconds has been enough to ensure that the email has been delivered, meaning my test takes well under a minute; much faster than that UI test I created years ago!
The moral of this story is not just that testing email is easier and more reliable with an API test than a UI test; it’s also that APIs are great to test all kinds of things! The next time you find yourself needing to access a third-party application for an automated test, see if that app has an API. Your test will be less flaky, so you won’t have to waste lots of time rerunning and debugging it!