About six weeks ago, the Iowa Democratic Party held its caucus. For those who don’t live in the United States, this event is one of the first steps in the presidential primaries, which determine who will be running for president in the next presidential election.
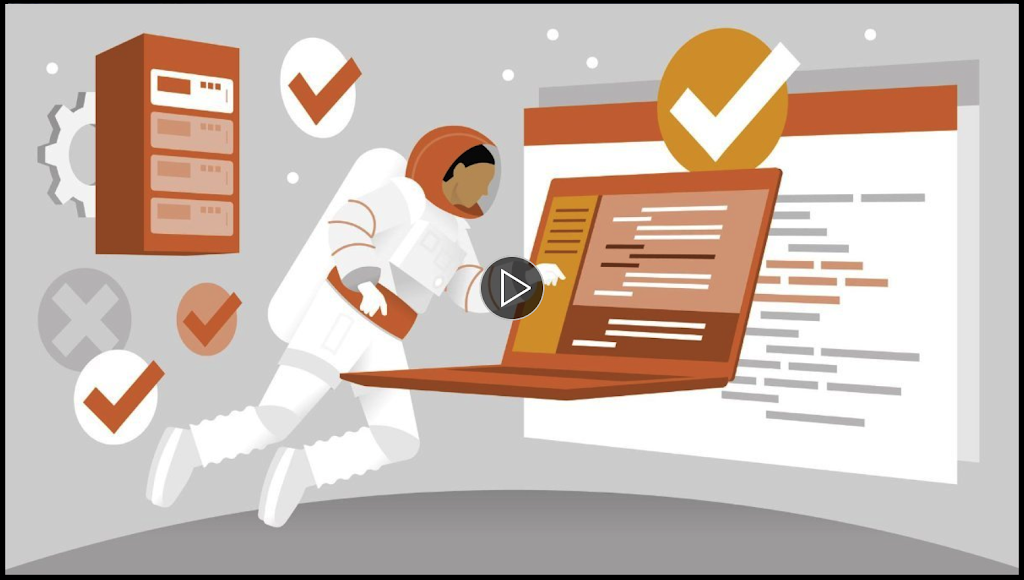
In 2016, the Iowa Caucus used a mobile app created by a company called Interknowlogy in partnership with Microsoft to allow each precinct to report their results. This app worked successfully in the 2016 caucus. But this year the Iowa Democratic Party chose to go with a different company to create a new app, which proved disastrous. Incorrect tallies were reported, and precincts that tried to report via phone were often not able to get through or found that their calls were disconnected.
From reading
this assessment, it appears that the biggest problem with the 2020 app was that the software company didn’t have adequate time to create the application, and certainly didn’t have enough time to test it. But as a software tester, I found myself thinking about what I would have done if it had been my responsibility to test the app, assuming that there had been enough time for testing. Below is what I came up with:
Step One: Consider the Use Case
The interesting thing about this application is that unlike an app like Twitter or Uber, the number of users is finite. There are only about 1700 precincts in Iowa, including a few out-of-state precincts for Iowans who are in the military or working overseas. So the app wouldn’t need to handle tens of thousands of users.
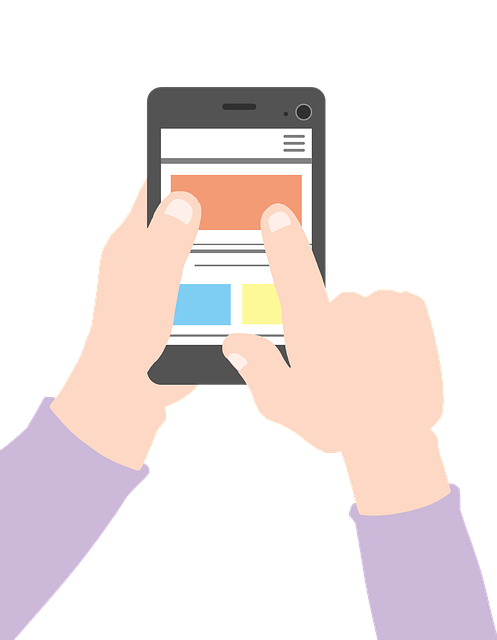
The users of the application will be the precinct leaders, who will own a wide variety of mobile phones, such as iPhone, Galaxy, or Motorola, and each of those devices could have one of several carriers, such as AT&T, Verizon, or Sprint. Mobile service might be spotty in some rural areas, and wifi might be unavailable in some locations as well. So it will be important to test the app on a wide variety of operating systems and devices, with a variety of carriers and connection scenarios.
Moreover, the precinct leaders will probably vary widely in their technical ability. Some might be very comfortable with technology, while others might have never installed an app on their phone. So it will be imperative to make sure that the app is on both the Apple App Store and Google Play, and that the installation is simple.
Some leaders may choose to call in their election results instead of entering them in the app. So the application should allow an easy way to do this with a simple button click. This will also be useful as a backup plan in case other parts of the app fail.
Finally, because this is an event of high political importance, security must be considered. The app should have
multi-factor authentication, and transmissions should be secured using https with appropriate
security headers.
Step Two: Create an In-House Test Plan
Now that the users and the use case have been considered, it’s time to create an in-house test plan. Initial testing should begin at least six months before the actual event. Here is the order that I would direct the testing:
- Usability testing: the application should be extremely easy to install and use.
- Functional testing: does the application actually do what it’s supposed to do? Testers should test both the happy path- where the user does exactly what is expected of them- and every possible sad path- where the user does something odd, like cancel the transaction or back out of the page.
- Device and carrier testing: testers should test on a wide variety of carriers, with a wide variety of providers, and with a wide variety of connection scenarios, including scenarios such as a wifi connection dropping in the middle of a transmission. Testers should also ensure that the application will work correctly overseas for the remote precincts. They can do this by crowd-sourcing a test application that has the same setup as the real application.
- Load and performance testing: testers should make sure that the application can handle 2500 simultaneous requests, which is much higher than the actual use case. They should also make sure that page response times are fast enough that the user won’t be confused and think that there’s something wrong with the application.
- Security testing: testers should run through penetration tests of the application, ensuring that they can’t bypass the login or hijack an http request.
- Backup phone system testing: testers should validate that they can make 2500 simultaneous calls to the backup phone system and be able to connect. Since there probably won’t be 2500 phone lines available, testers should make sure that wait times are appropriate and that callers are told how many people are in the queue in front of them.
Step Three: External Security Audit
Because of the sensitive nature of the application, the app should be given to an external security testing firm at least four months before the event. Any vulnerabilities found by the analysis should be addressed and retested immediately.
Step Four: Submit to the Apple App Store and Google Play
As soon as the application passes the security audit, it should be submitted to the app stores for review. Once the app is in app stores, precinct leaders should be given instructions for how to download the app, log in with a temporary password, and create a new password, which they should save for future use.
Step Five: End User Testing
Two months before the caucus, precinct leaders will be asked to do a trial run on the application. Instead of using actual candidates, the names will be temporarily replaced by something non-political, like pizza toppings. The leaders will all report a fictitious tally for the pizza toppings using the app, and will then use the backup phone number to report the tally as well. This test will accomplish the following:
- it will teach the leaders how to use the app
- it will validate that accurate counts are reported through the app
- it will help surface any issues with specific devices, operating systems, or carriers
- it will validate that the backup phone system works correctly
By two weeks before the caucus, any issues found in the first pizza test should have been fixed. Then a final trial run (again with pizza toppings rather than candidates) will be conducted to find any last-minute issues. The precinct leaders will be strongly encouraged to make no changes to their device or login information between this test and the actual caucus.
Monday Morning Quarterbacking
There’s a term in the US called “Monday Morning Quarterbacking”, where football fans take part in conversations after a game and state what they would have done differently if they had been the quarterback. Of course, most people don’t have the skill to be a major-league quarterback and they probably don’t have access to all the information that the team had.
I realize that what I’m doing is the software tester equivalent of Monday Morning Quarterbacking. Still, it’s an interesting thought exercise. I had a lot of fun thinking about how I would test this application. The next time you see a software failure, try this thought exercise for yourself- it will help you become a better tester!