Last week, I wrote about how I had just returned from the annual Postman users’ conference, and how I was so excited about everything I had learned there! I’m still talking to anyone who will listen about all the great things Postman can do. In this week’s post, I’m going to show you how you can create variables, assertions, and headers for collections and folders.
Those of you who are familiar with Postman or who have read my previous blog posts on the subject know that a Postman collection is simply a group of requests. Requests in a collection can also be grouped into folders. Here’s an example of a collection with more than one folder:
The name of the collection is “Contact List”, and it has three folders in it: “Happy Path”, “Required and Null Fields”, and “Sad Path”. Each of the folders has requests in it, but currently only the “Happy Path” folder is open so you can view the requests.
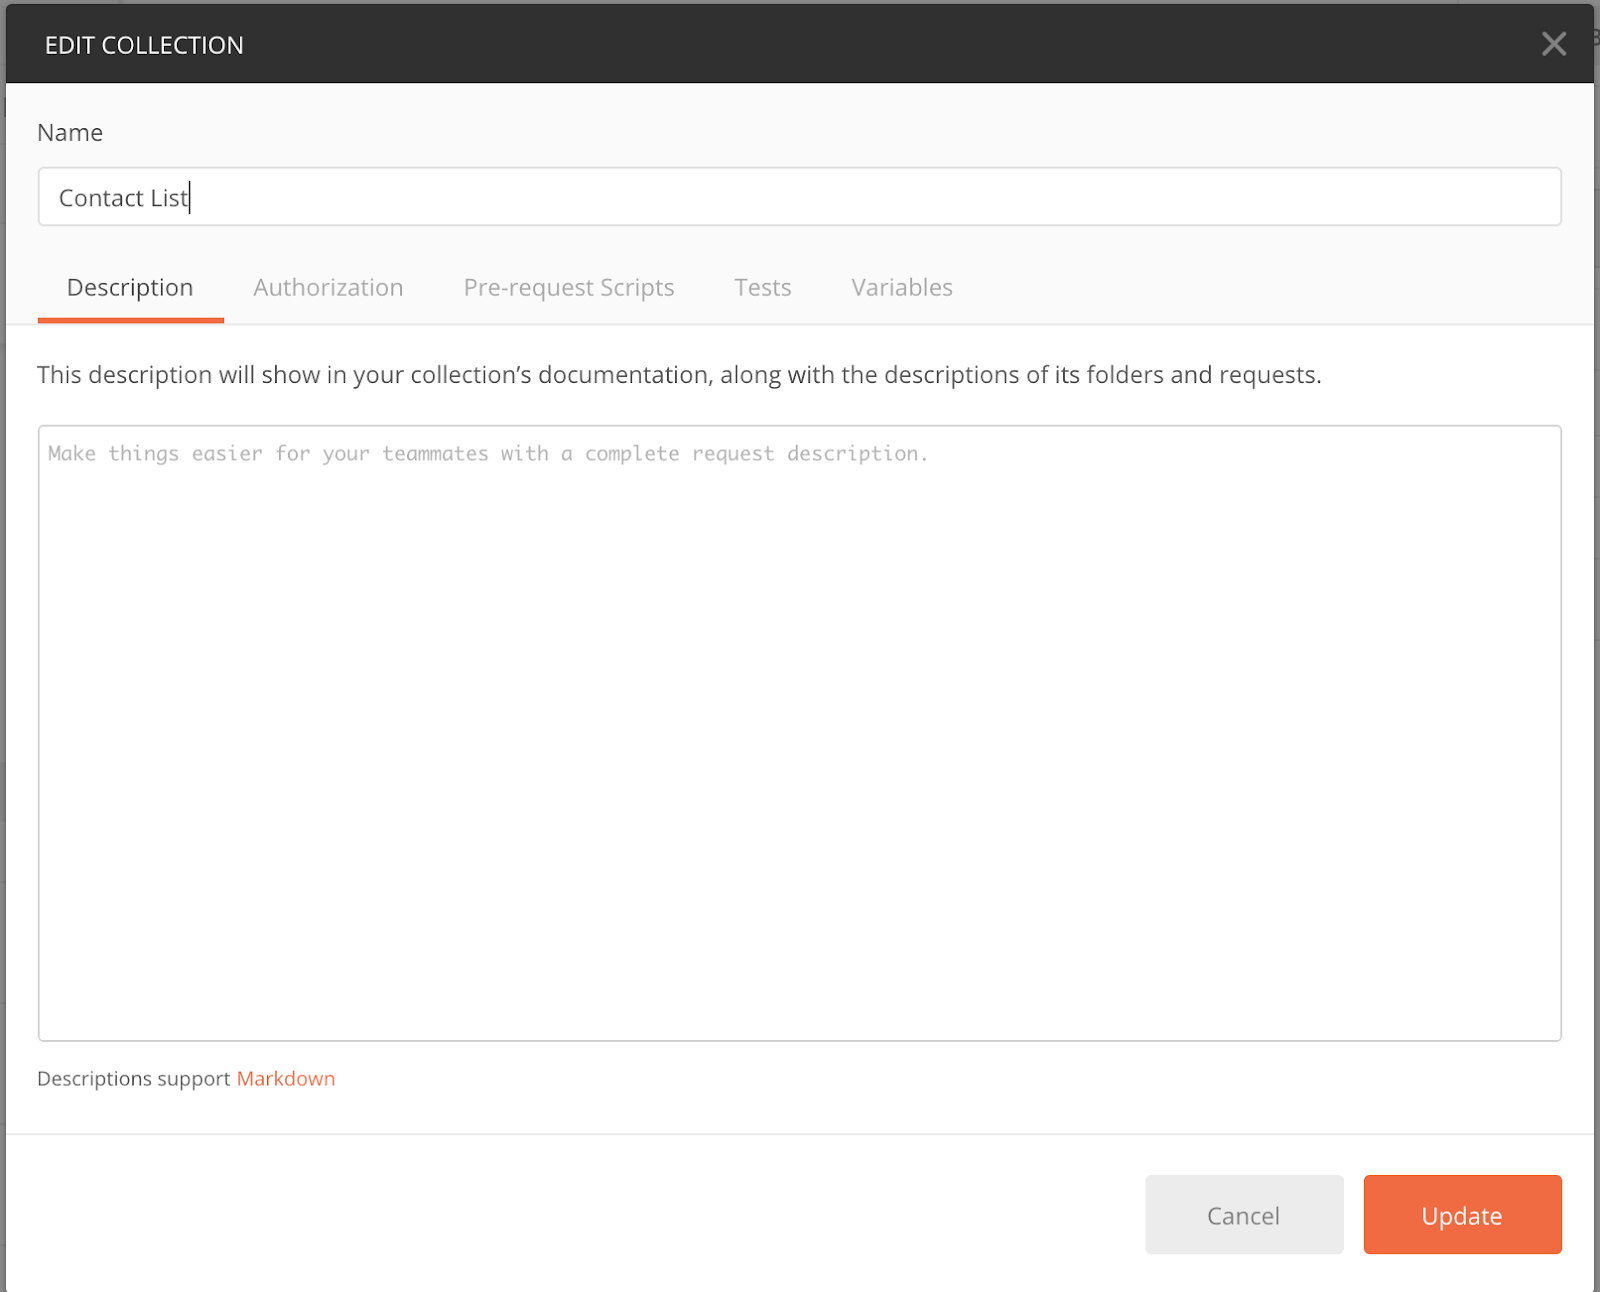
If I hover over the Contact List collection name, I’ll see a three-dot menu. I can click on this menu icon and choose Edit. When the Contact List editor window appears, it looks like this:
Notice that there are tabs for Authentication, Pre-request Scripts, Tests, and Variables. If I want to add a collection-level variable, I can simply click on the variables tab and enter in my variable name and value. We can do something similar to add an authorization token, a pre-request script, or a test.
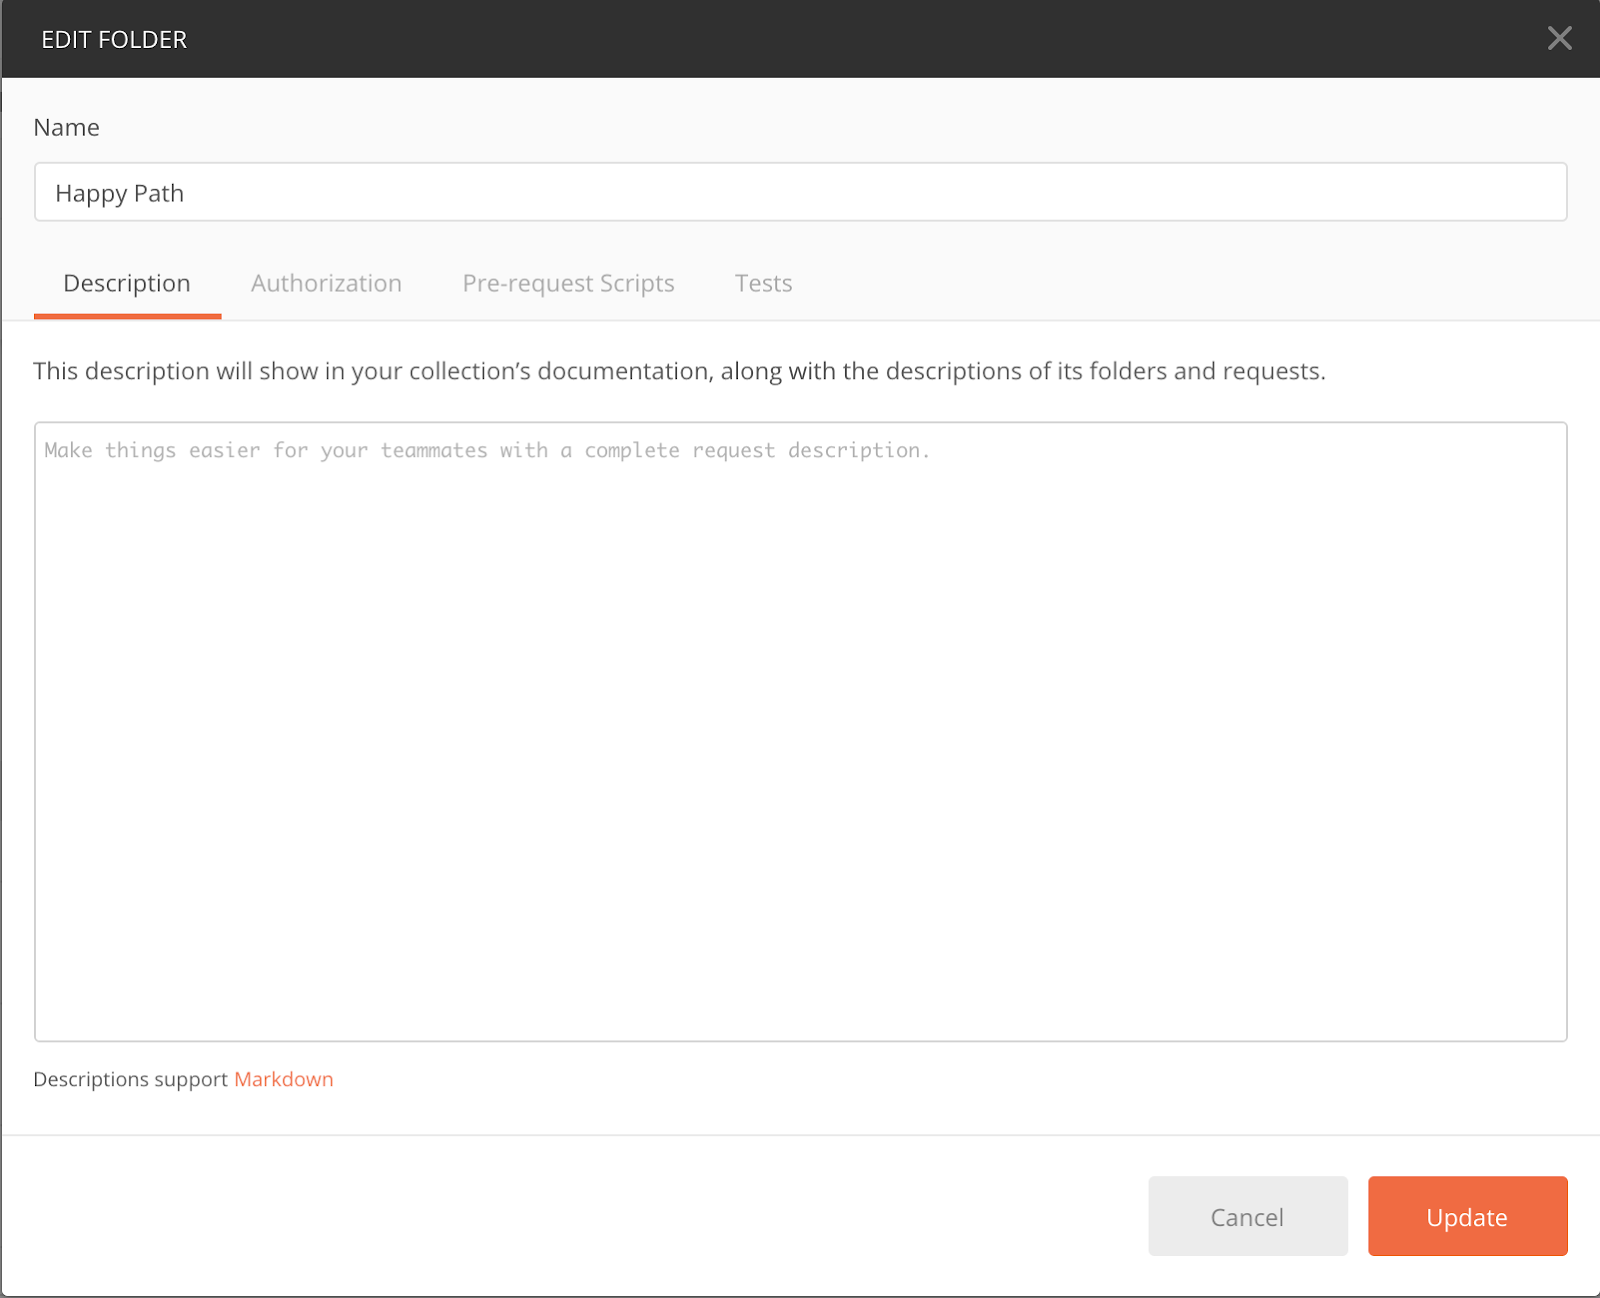
We can do the same thing at the folder level. There is also a three-dot menu to the right of the “Happy Path” folder, and if I hover over either of the two other folders I’ll see the three-dot menu there as well. If I click on the three-dot menu next to the “Happy Path” folder, and choose “Edit”, I’ll be presented with this window:
Looks familiar, doesn’t it? The only difference between this folder window and the collection window is that there is no place to add variables. Here I can add authentication, pre-request scripts, and tests, just as I could at the collection level or request level.
Why is this so helpful?
Putting your authentication, pre-request scripts, and tests at the collection or folder level is helpful because it keeps you from having to type the same things again and again!
Here are four examples of how you can use this feature:
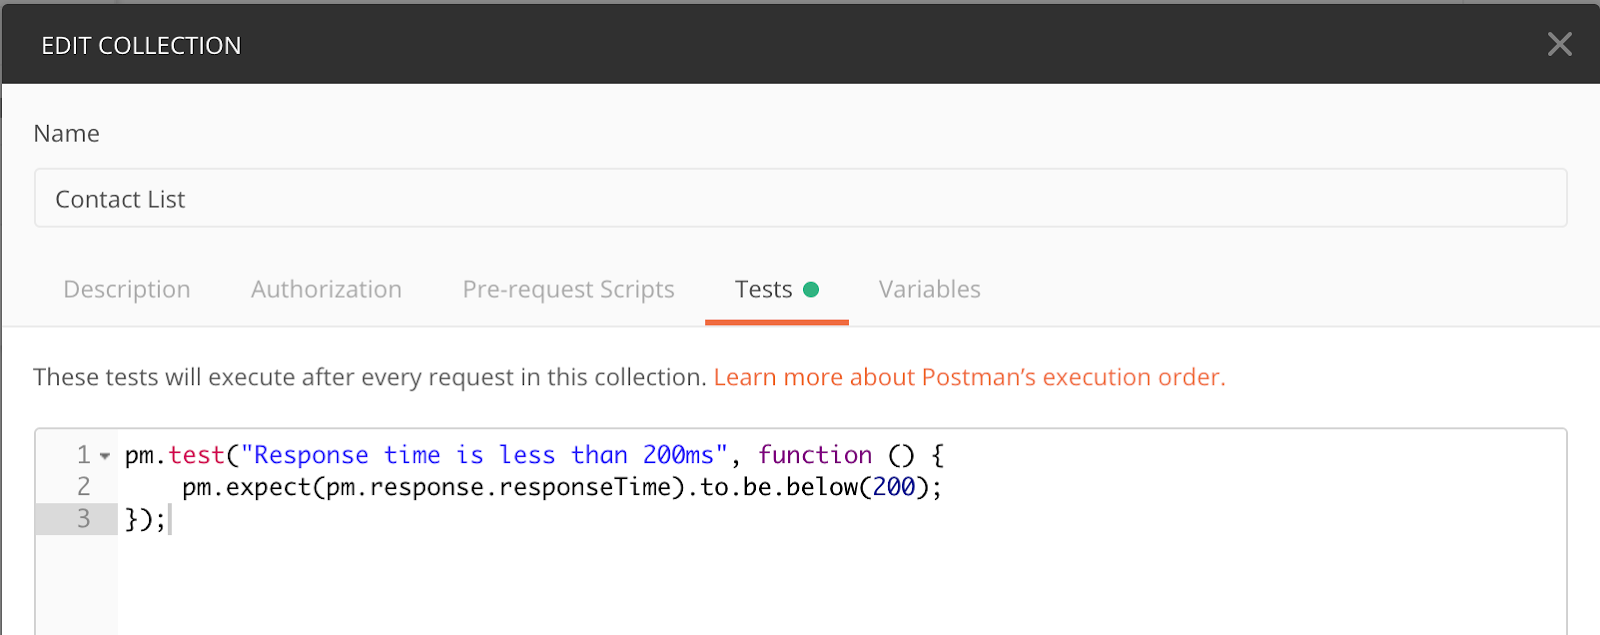
1. Assert on response time at the collection level
You may have a service-level agreement (SLA) on your API that states that the consumers of your API should get a response within a certain number of milliseconds. Even if you don’t have an SLA, you probably want to be alerted if requests that used to take two milliseconds are now taking ten seconds to run. But to copy and paste this assertion into every request is time consuming! Instead you can put the assertion at the collection level, like this:
Now this response-time assertion will run with every single request in your collection.
2. Move your variables out of your environments and into your collections
You probably test your APIs in more than one environment, such as Dev, QA, Staging, and Production. Each environment probably has some variables that differ between each environment, such as a URL value. But there are probably many variables that stay the same in each environment, and these variables can be put at the collection level to avoid repetition. Let’s look at an example. Let’s say I have a set of variables for my QA environment:
And I have another set of variables for my Prod environment:
When you examine the two environments, you can see that the only variable that is different between the two is the URL. So why not take the firstName, lastName, email, and phone variables and put them in the Collection variables instead?
Now you can remove all the repetitive variables from your environments, making them much easier to maintain.
IMPORTANT NOTE! When you move your variables from an environment to your collection, you will need to reference them differently in your assertions. Instead of:
pm.expect(jsonData.firstName).to.eql(environment.firstName);
You will need to use:
pm.expect(jsonData.firstName).to.eql(pm.variables.get(“firstName”));
3. Set authentication at the collection level
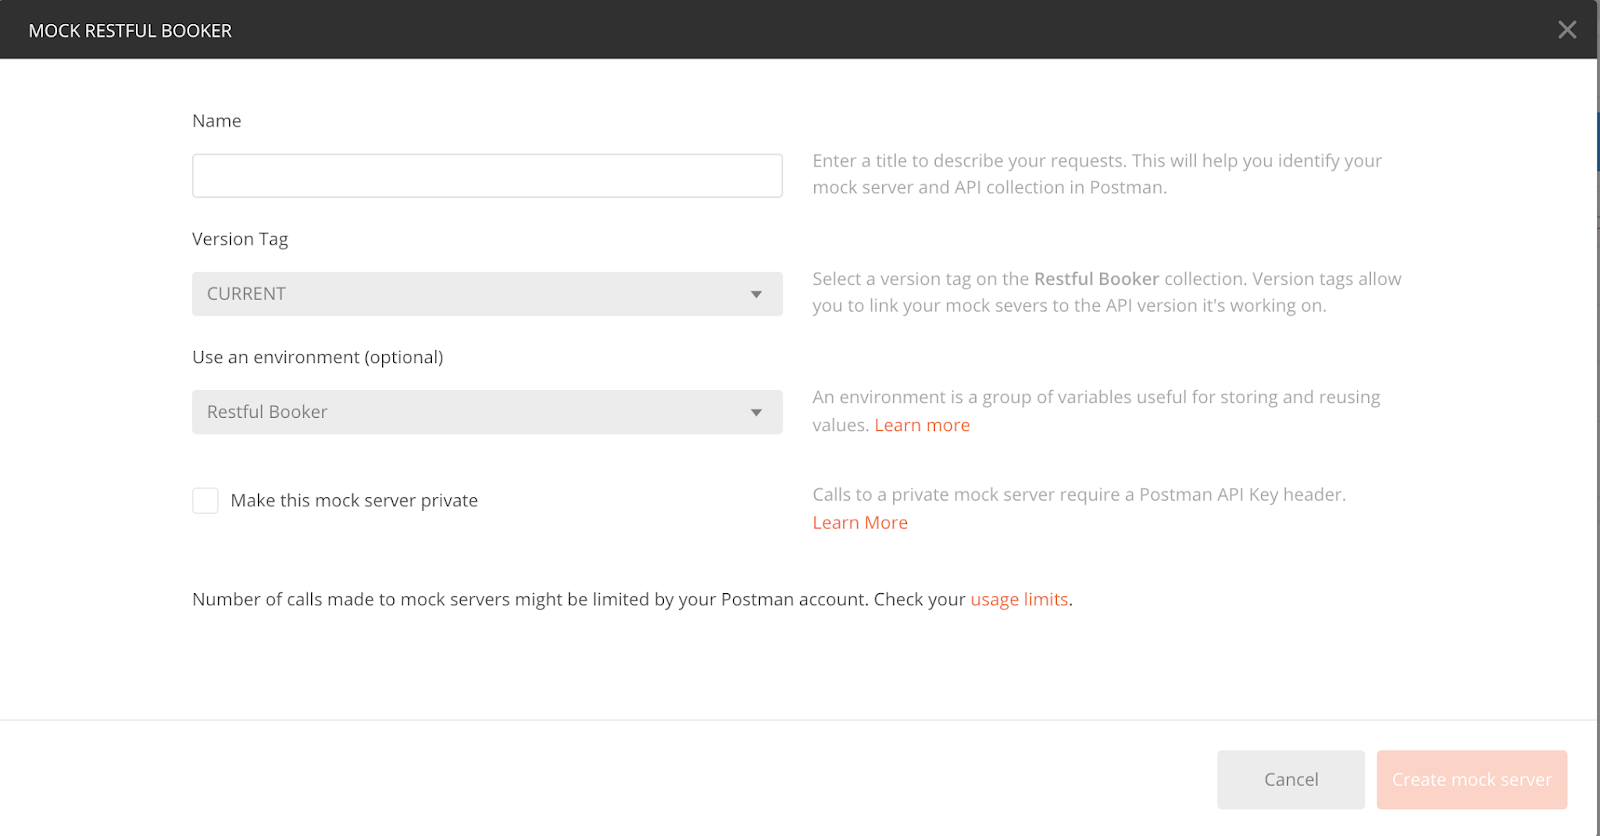
Much of what I test with APIs requires an authentication token. It’s a pain to have to add authentication to the header on every request. If the token you are using will be the same throughout your collection, you can set the authentication at the collection level instead.
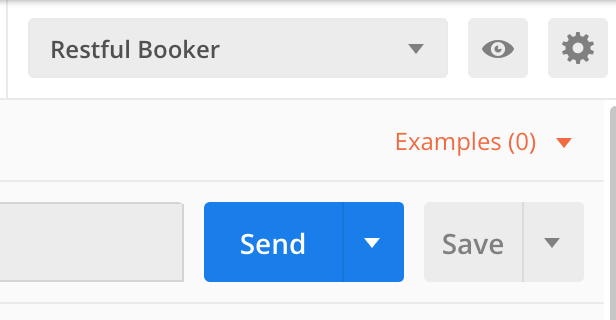
Here’s an example, using Mark Winteringham’s awesome Restful-Booker API. Some of the requests in this API require a token, using this format:
Where {{cookie}} is the token that I’ve saved as a variable. I can set the authentication at the collection level like this:
And that header will be sent with every request I make. Note that there are many different types of authentication, so you’ll need to modify your collection settings to use the right type for your API.
4. Use a pre-request script to create a variable at the folder level
Suppose you have a folder with requests that will all require a randomly-generated GUID, and you want the GUID to be different for each request. Rather than put instructions for generating a GUID in the pre-request script section of every single request, you can put the instructions at the folder level, like this:
This script will run before every request in the folder and will assign a randomly-generated GUID to the variable “id”, ensuring that the id will be different for each request.
These examples are just some of the things you can do at the collection and folder levels. I hope you will use these as a starting point to making your Postman tests more efficient and maintainable!