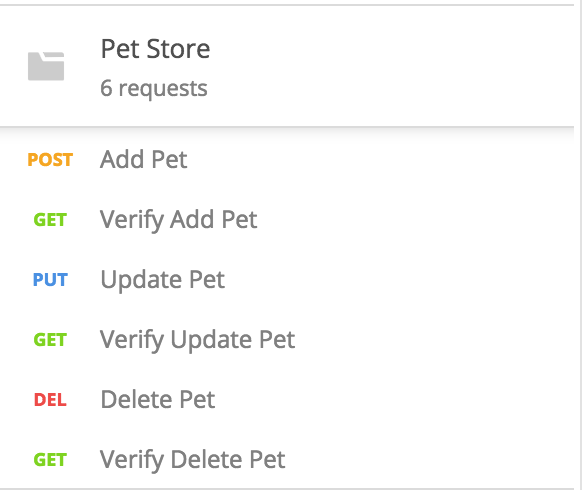
This week, we’ll be talking about the many ways to use variables in Postman. We’ll be using the collection that we created a few weeks ago, so you may want to check that tutorial out before reading on.
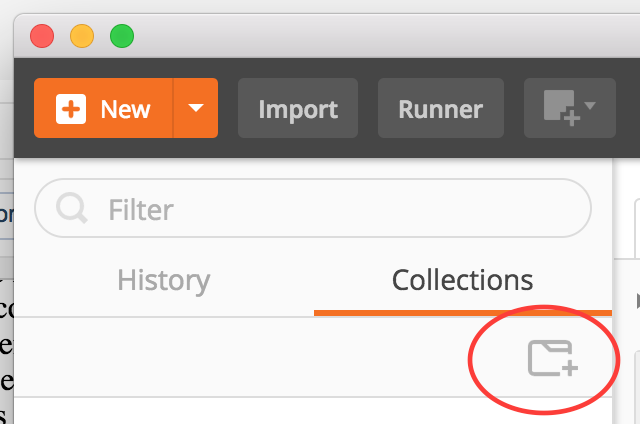
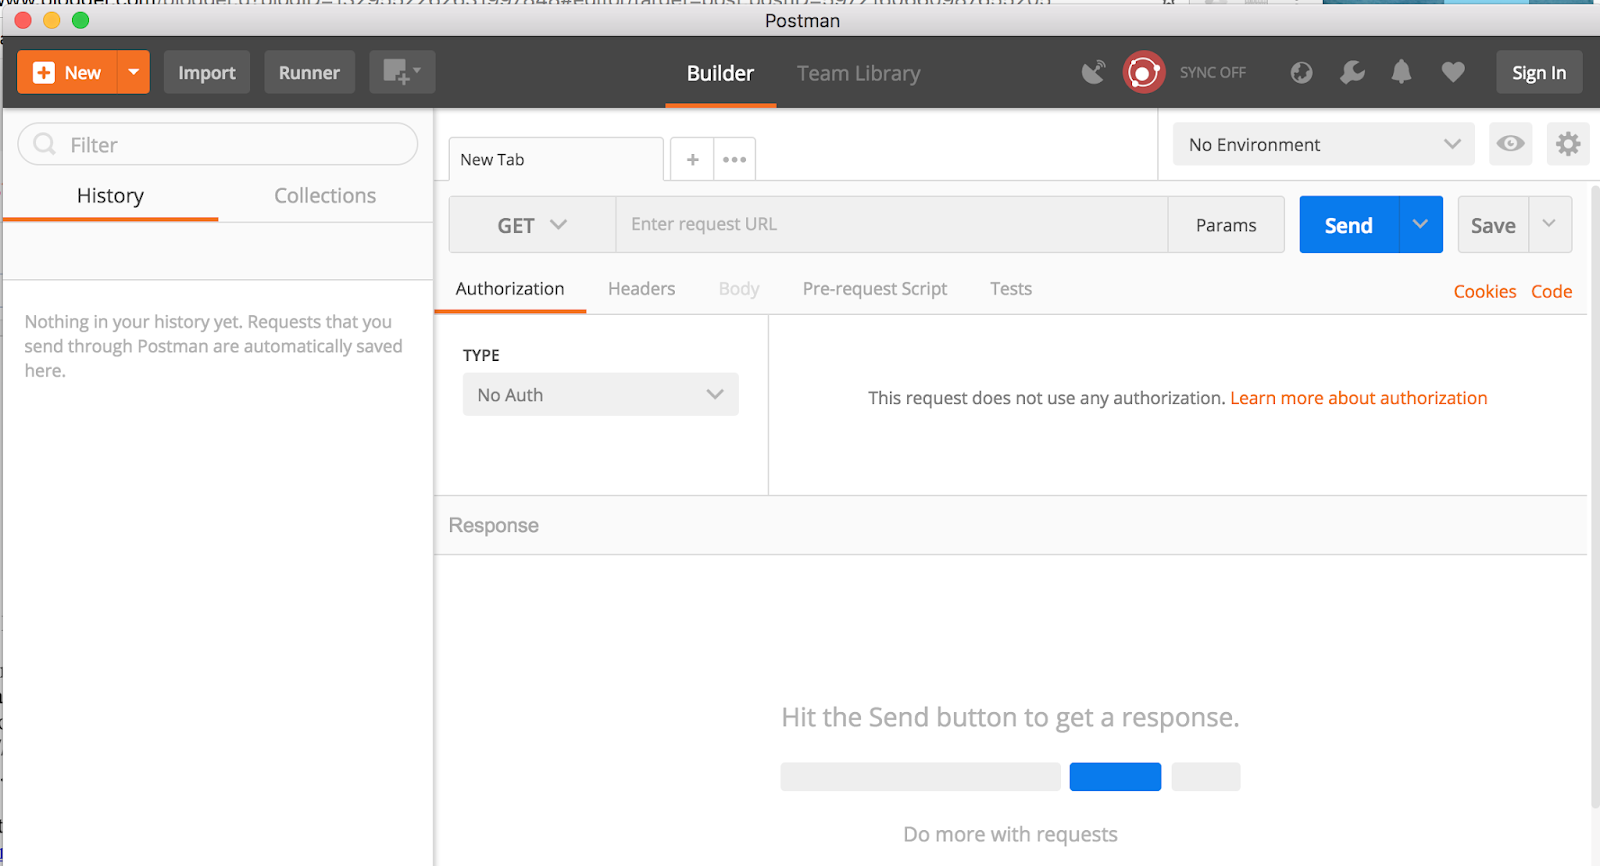
The first thing to understand about variables in Postman is that they are organized into environments. A Postman environment is simply a collection of variables that can be used to run against a Postman collection. Creating an environment is easy! Click on the gear button in the top right corner of the window, and then click the “Add” button. Give your environment a name, such as “Pet Store”, and then click “Add”.
An environment isn’t helpful at all unless you give it some variables, so let’s add a variable now. After you added the new environment, you should have been returned to the “Manage Environments” popup window; click on your new environment to edit it. In the “key” section, add petId, and in the “value” section, add 100. Click the “Update” button, and your new variable has been added.

Close the “Manage Environments” window. In the upper right corner, you’ll see a dropdown selector, which currently says “No Environment”. Click on this selector and choose “Pet Store”. Now when you run requests in your Pet Store collection, it will run them with this Pet Store environment.
We have one variable set up now: petId, which equals 100. Let’s see all the different ways we can use this variable!
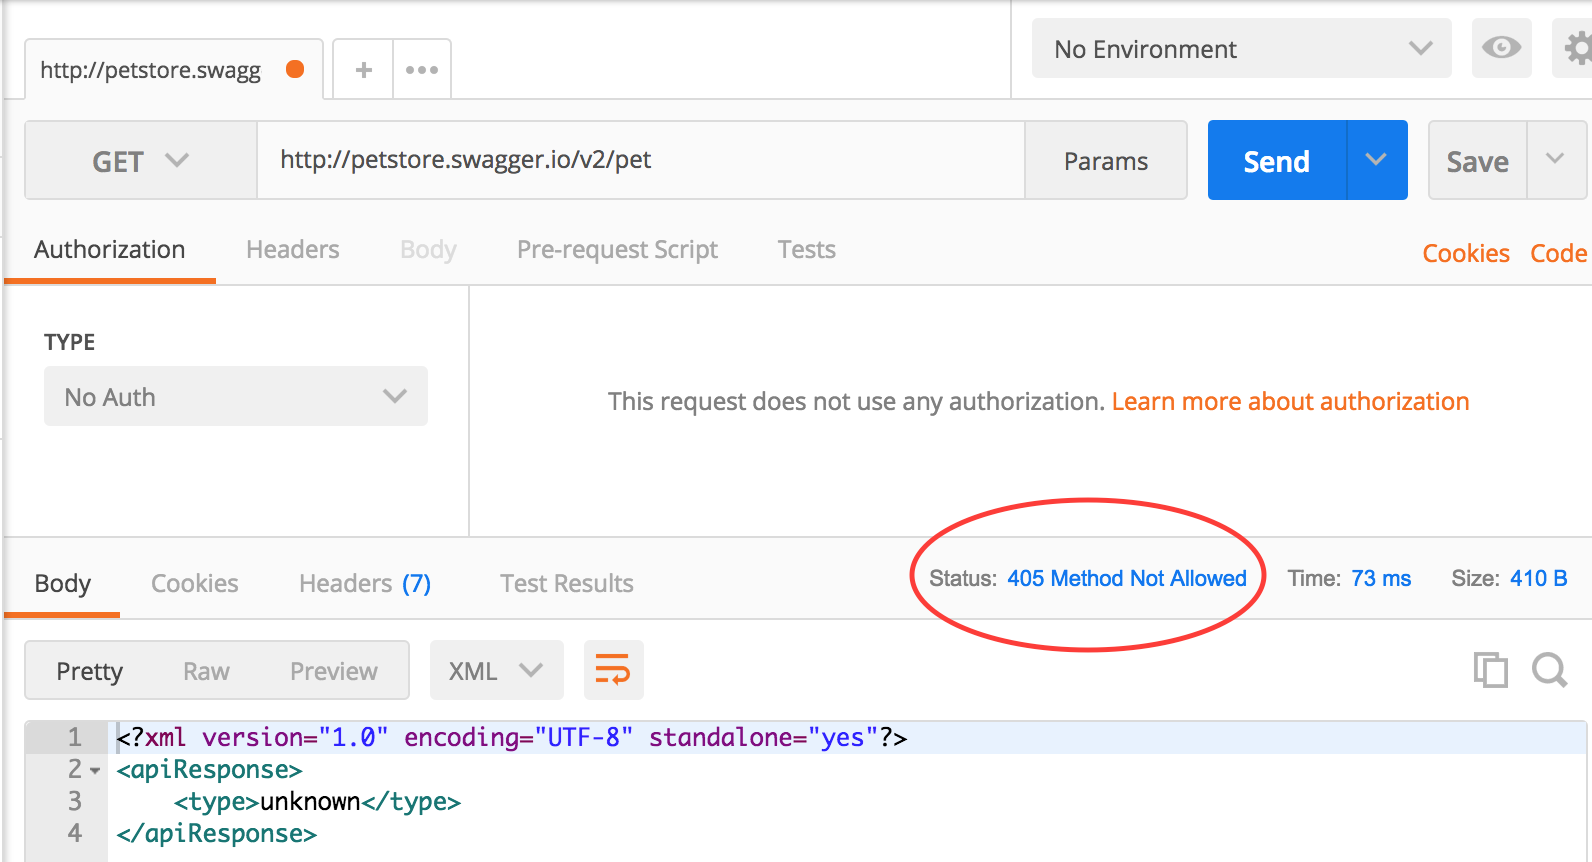
First, we can use it in the URL. In your “Verify Add Pet” request, change the URL from http://petstore.swagger.io/v2/pet/100 to http://petstore.swagger.io/v2/pet/{{petId}}. When you add in the variable, you will see {{petId}} turn to orange. This is because Postman recognizes the variable from the current environment. If you ever forget to set your environment (an easy thing to do), you will see that the {{petId}} will be red. Save your changes, and run your request (you may need to run the “Add Pet” request first, so there will be a pet with an id of 100). You will see that the request was made for the pet with the id of 100, and that is what is returned in the response.
You can also use a variable in this way in the request headers. We won’t be doing that in this collection, but one example of how this can be used is if you need to send an authentication token with a request. Rather than typing in the token every time, you can save it as a variable named “token”, and then pass it in with the header like this: {{token}}.
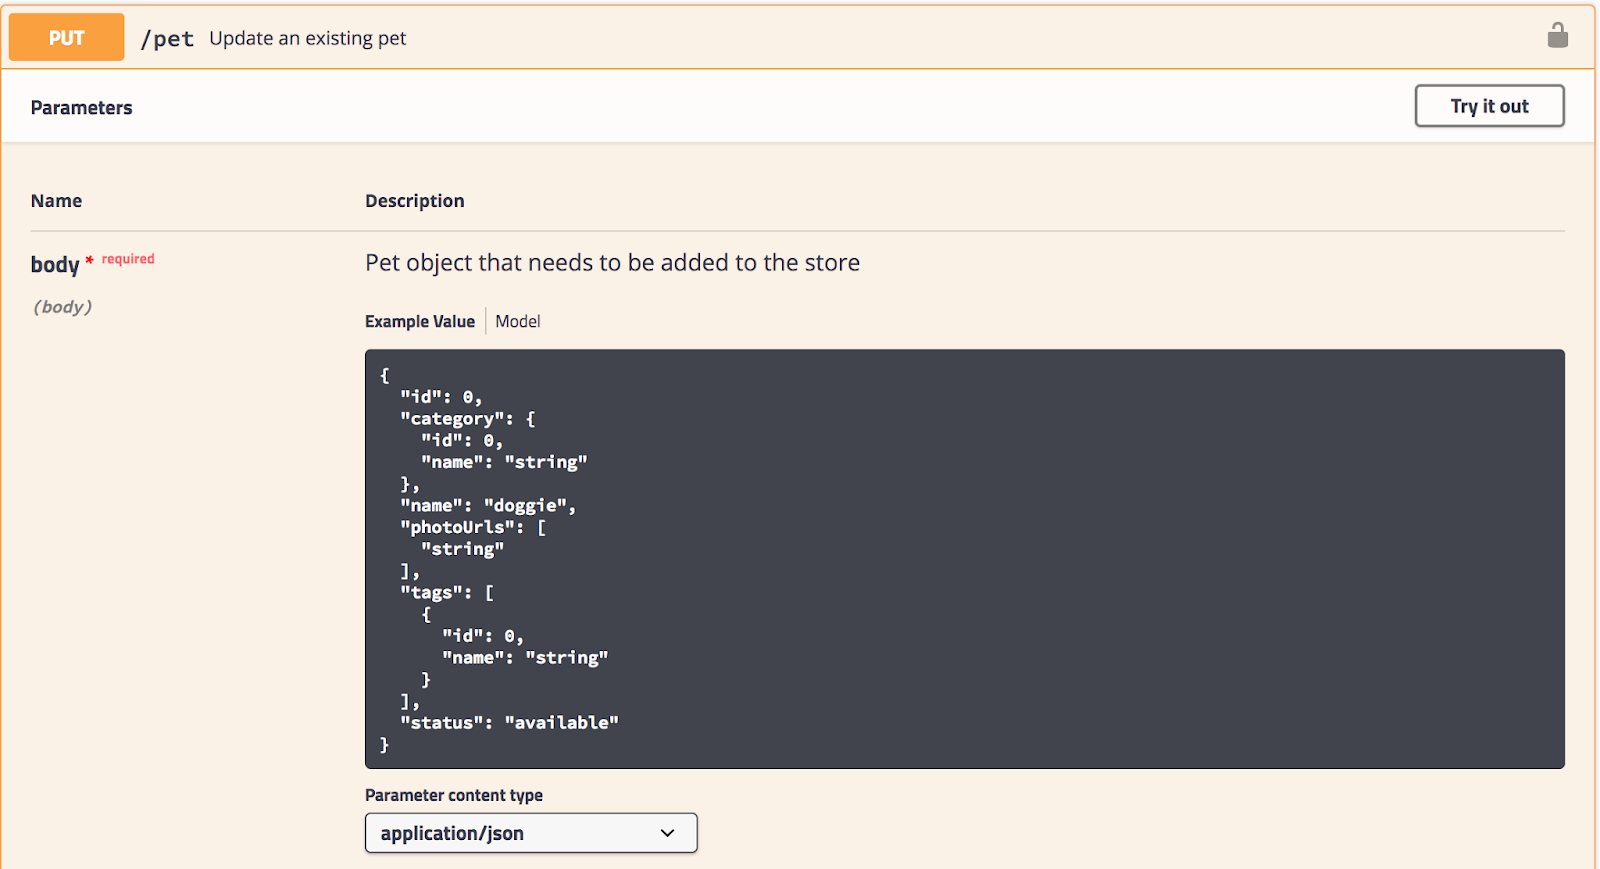
Getting back to our petId variable, we can use it in the request body as well. Let’s open up the Add Pet request, and change the body of the request so it looks like this:
{
“id”: “{{petId}}”,
“category”: {
“id”: 1,
“name”: “Cat”
},
“name”: “Grumpy Cat”,
“photoUrls”: [
“https://pbs.twimg.com/profile_images/948294484596375552/RyGNqDEM_400x400.jpg”
],
“tags”: [
{
“id”: 1,
“name”: “Mixed breed”
}
],
“status”: “available”
}
We’ve replaced the id of 100 with our petId variable. You can see how using a variable like this would be helpful in testing. Suppose we decided that we didn’t want to add a pet with an id of 100, and we preferred to use some other number instead. It will be easy to change this, because now all we have to do is change the variable in one place (the Pet Store environment) rather than in every request where 100 was used. Be sure to save your Add Pet request.
Another place we can use this petId is in our assertions. Return to the Verify Add Pet request, and add this assertion to the Tests section:
var jsonData = JSON.parse(responseBody);
tests[“Correct pet ID is returned”] = jsonData.id == environment.petId;
You may notice that this assertion is different from the other assertions we have in this request. The other assertions are written in the new Postman assertion style, and this assertion is written in the old style. (If any of my readers knows how to do this assertion in the new style, please let me know in the comments section!) What this assertion does is compare the id value returned in the body of the response (jsonData.id) with the id value set as an environment variable (environment.petId). Save this request and run it, and you should see that this assertion passes.
Finally, we can set environment variables based on the body of a response. Let’s duplicate our Add Pet request (see instructions in Creating a Postman Collection for how to do this), and we’ll rename our copied request “Add Pet With No Id”. We’re going to use this request to add a pet without specifying the id, letting the program assign an id for us. Change the body of the request to:
{
“category”: {
“id”: 1,
“name”: “Cat”
},
“name”: “Grumpy Cat”,
“photoUrls”: [
“https://pbs.twimg.com/profile_images/948294484596375552/RyGNqDEM_400x400.jpg”
],
“tags”: [
{
“id”: 1,
“name”: “Mixed breed”
}
],
“status”: “available”
}
Note that the id that was at the top of the request (the pet id) has now been removed. Now go to the Tests tab, and add in this instruction:
var jsonData = JSON.parse(responseBody);
postman.setEnvironmentVariable(“newPetId”, jsonData.id);
This instruction is parsing the JSON data and setting the id value returned to a new environment variable called “newPetId”. (Note that this is also in the old Postman assertion style. If you know how to do this in the new style, please add it in the comment section!) Let’s save this request and run it. After you’ve run the request, click on the eyeball icon in the top right corner of the screen. This is the Environment Quick Look button, which allows you to quickly see what variables you have in your environment. You should see the newPetId variable, with a value of whatever id your new pet was assigned! What’s nice about this feature is that you don’t even need to create the new variable in the environment first; the Postman request will create it for you.
We have only been looking at one variable- the pet id- in these instructions. You could also set variables for the pet name, the pet’s image URL, the status type, and so on. You may want to practice this in your Postman collection.The more variables you create in your environment, the easier it will be to maintain your tests in the future.
Next week, we’ll talk about one of my favorite things- organizing tests and environments!